How to Froth Milk at Home Without Expensive Equipment
How to Froth Milk at Home Without Expensive Equipment
Contents
To froth milk at home without a machine, heat milk to 140-155°F (60-68°C), then use a whisk, French press, jar, or handheld frother. Whole dairy milk or barista-grade non-dairy alternatives work best. The French press creates the creamiest froth (best for cappuccinos), while handheld frothers offer speed and consistency (ideal for lattes). Avoid overheating beyond 160°F (71°C) to prevent protein breakdown.
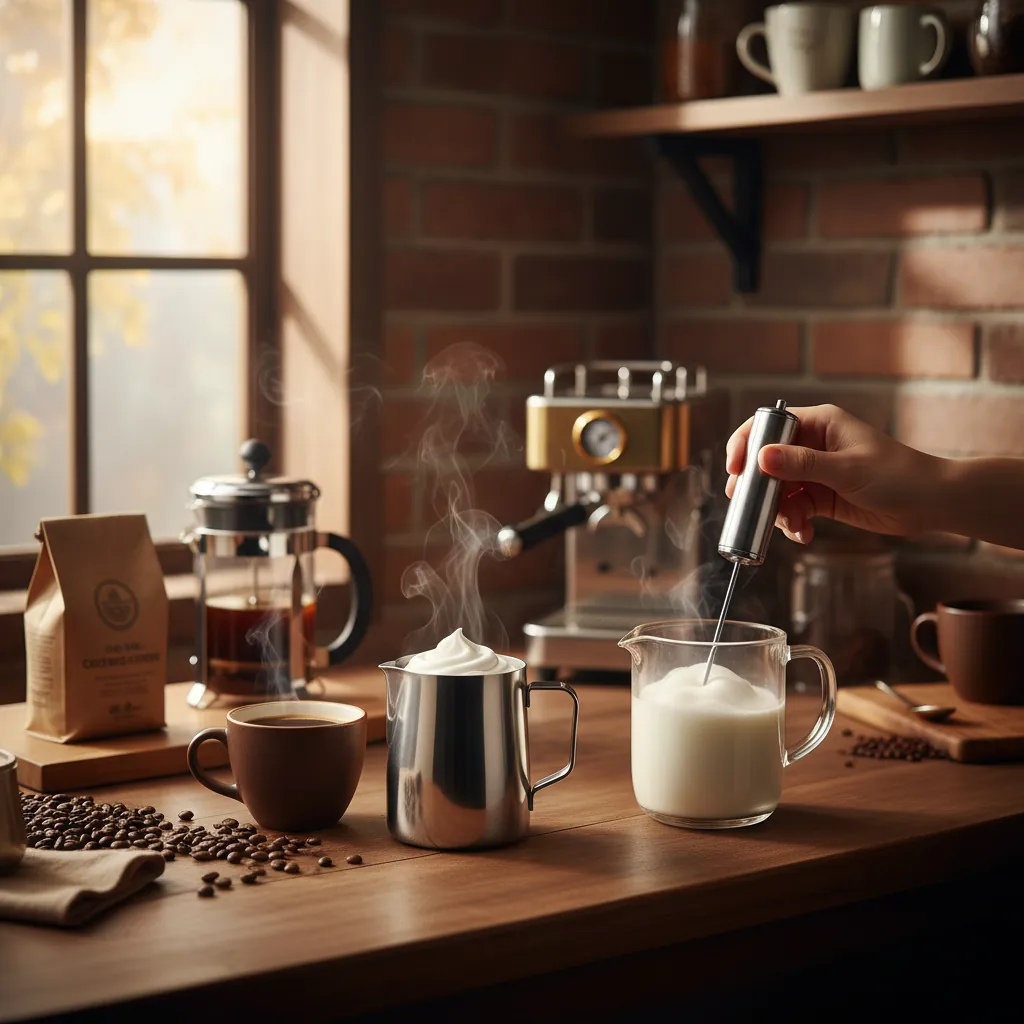
Frothed milk transforms ordinary coffee into café-style drinks, and you don’t need professional equipment to achieve creamy results. With simple tools and the right technique, you can create latte-worthy foam in minutes.
What You’ll Need
- Milk: ½–1 cup whole dairy milk or barista-grade non-dairy alternative (oat, soy, or almond milk designed for frothing)
- Equipment options:
- Whisk (manual or electric)
- French press
- Mason jar with lid
- Handheld milk frother ($10–$20)
- Thermometer (optional, but ideal for checking 140–155°F/60–68°C range)
- Microwave or stovetop for heating milk
Step-by-Step
- Heat the milk: Warm to 140–155°F (60–68°C) using a microwave (30–60 seconds) or stovetop (medium heat). Test by touching—it should feel hot but not scalding.
- Transfer milk: Pour into your frothing tool (French press/jar/whisk-compatible mug), filling only halfway to allow expansion.
- Froth:
- Whisk: Vigorously whisk in circles for 30–45 seconds, starting deep and lifting as foam forms.
- French press: Plunge up/down rapidly for 30 seconds until volume doubles (creates thickest foam).
- Jar: Seal and shake for 45–60 seconds, then remove lid and microwave 15 seconds to stabilize bubbles.
- Handheld frother: Submerge and whisk on high for 10–15 seconds until silky.
- Groom foam: Tap container on the counter to pop large bubbles, then swirl to unify texture.
- Pour immediately: Add to espresso or coffee, holding back foam with a spoon for layered drinks.
Variations
- Latte (less foam): Froth just until milk thickens slightly (~10–15 sec with frother).
- Cappuccino (more foam): Froth longer (20–30 sec) for drier, airier texture.
- Cold foam: Skip heating, use cold milk, and froth until stiff peaks form (ideal for iced drinks).
Common Mistakes
- Overheating milk (beyond 160°F/71°C): Destroys proteins, making froth collapse.
- Underfilling/overfilling tools: Too little milk won’t froth well; too much overflows.
- Incorrect whisking: Not incorporating enough air (too deep) or creating large bubbles (too shallow).
Comparison of Frothing Methods
| Method | Time | Froth Quality | Best For | Cost |
|---|---|---|---|---|
| French press | 30s | Thick, creamy | Cappuccinos | $0 (if owned) |
| Hand whisk | 45s | Medium, light | Lattes | $0 |
| Jar shaking | 60s | Large bubbles | Quick foam | $0 |
| Handheld frother | 15s | Fine, silky | Lattes/art | $10–20 |
FAQ
Can I froth cold milk?
Yes, but heat helps texture. Cold milk requires longer frothing (try shaking in a jar with ice for “cold foam”).
Why isn’t my milk frothing?
Low-fat or ultra-pasteurized milk resists frothing. Use whole milk or barista-grade alternatives.
How long does frothed milk last?
Use immediately. Froth collapses within 5–10 minutes.
Can I reheat frothed milk?
Avoid microwaving—it ruins texture. Steam gently if needed.
Best non-dairy milk for frothing?
Barista-blend oat milk (higher fat/protein) outperforms standard almond or soy milk.
Related guides
- How to Grind Coffee Beans for the Best Brew
- How to Brew Coffee with an AeroPress: A Complete Guide
- How to Brew Coffee with a Chemex: Clean, Crisp, and Balanced
- Coffee to Water Ratio: The Complete Brewing Guide
- Cold Brew Coffee: A Complete Guide